Open NativeDOCS
What are native modules
If you haven’t used React Native to build apps before, the term “Native Modules” might seem completely new to you. Native Modules are like NativeScript plugins. They allow interacting with some native API or SDK or a Library through a simple and easy to use Javascript interface. For example you might want to access some bluetooth functionality or use a Google service like Firebase/Google Pay in your application.
Installing native modules
With Open Native setup in your project, installing native modules is very simple. Let’s install a simple module as an example so you know how easy it is!
react-native-gzip
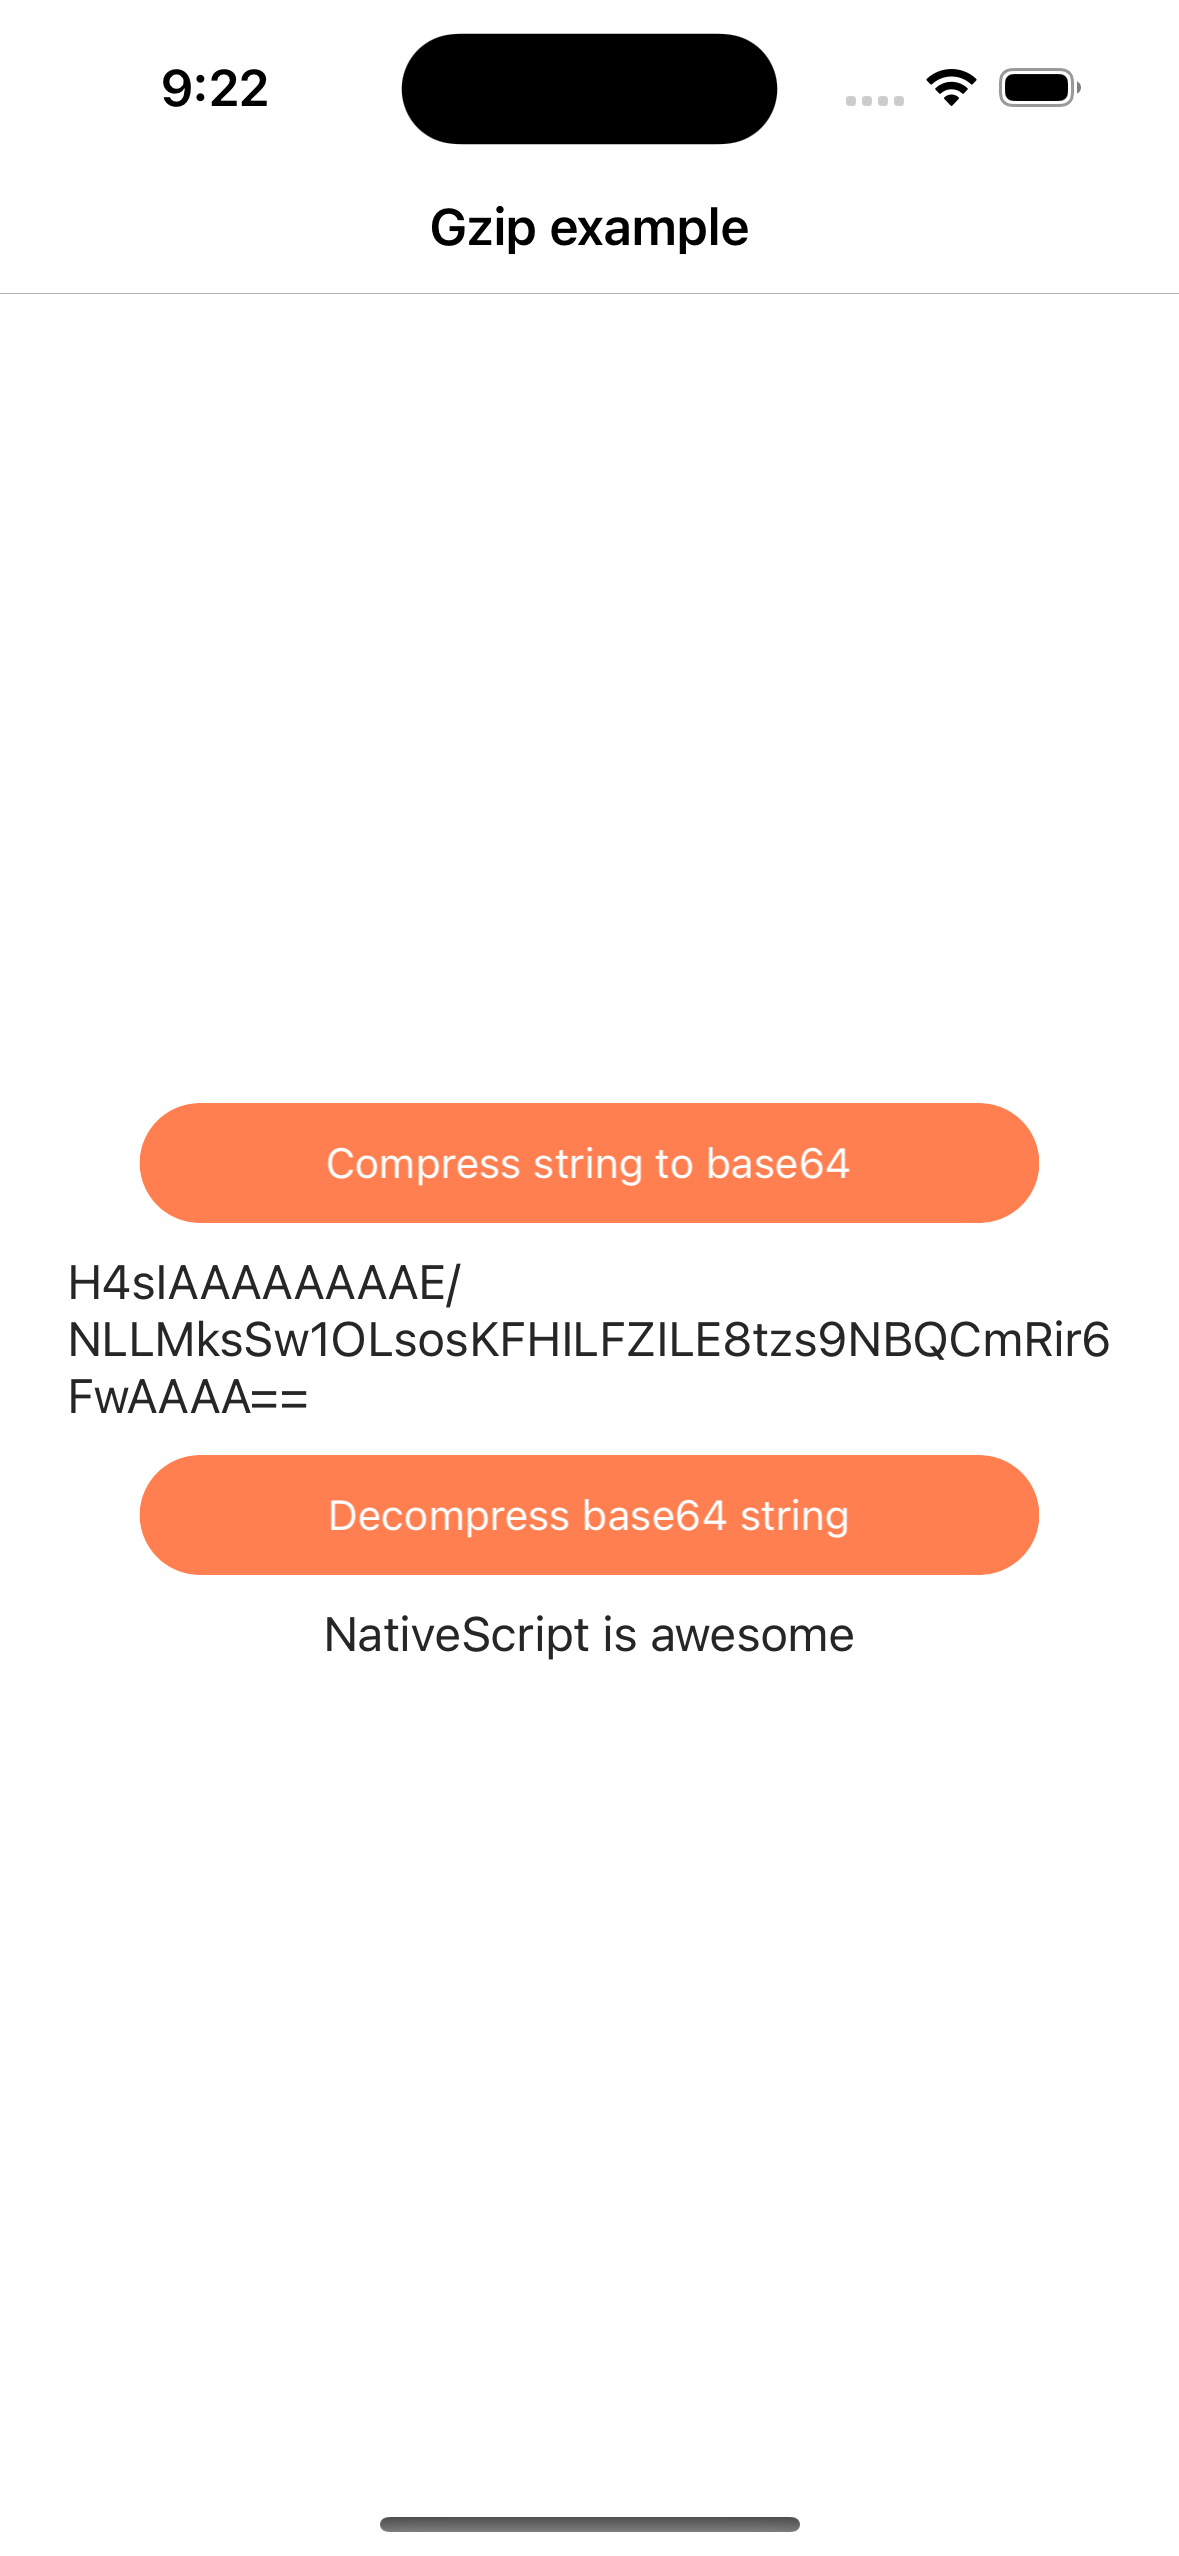
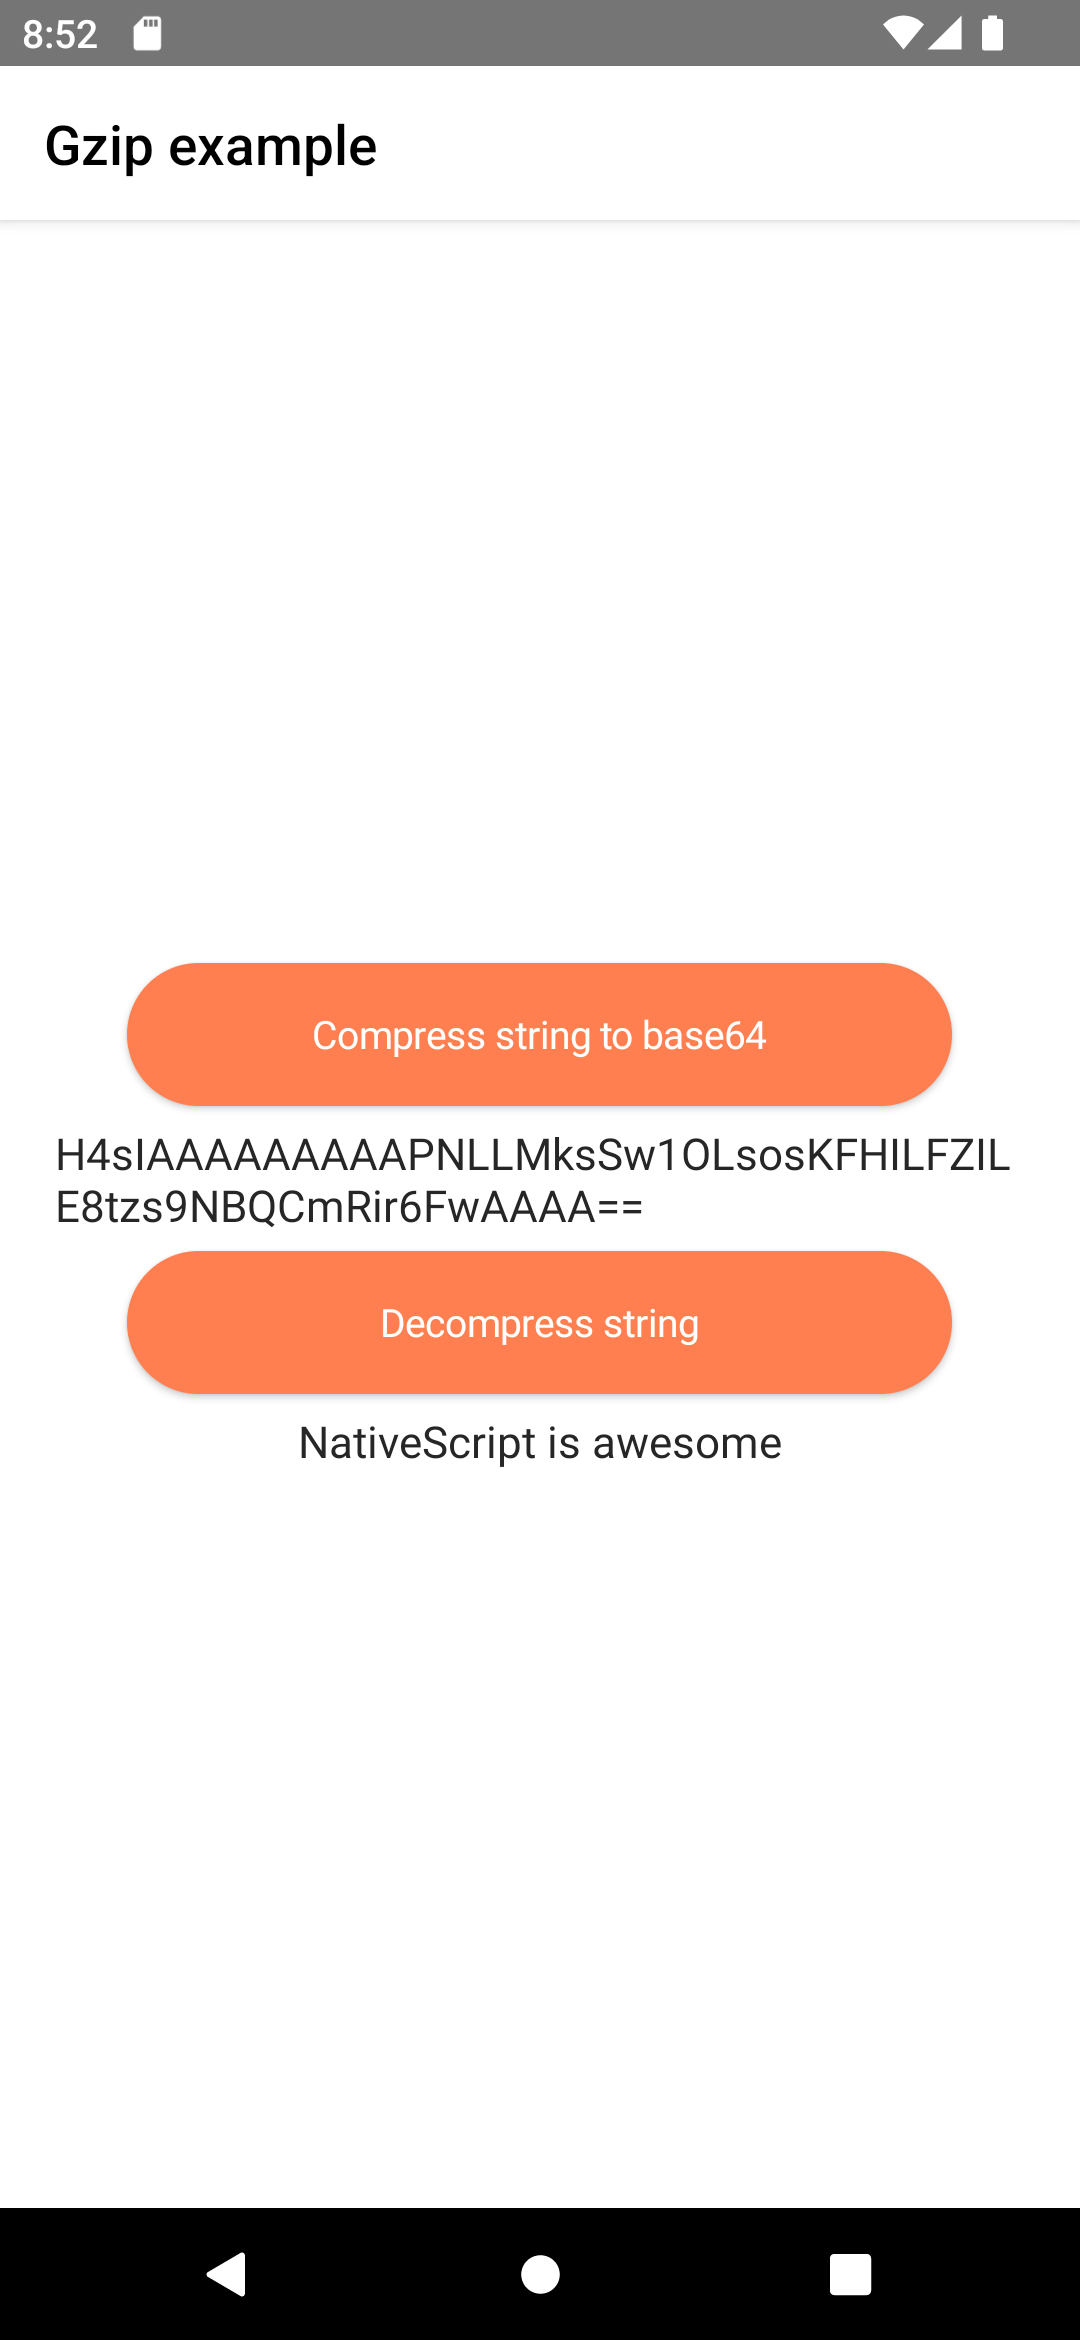
We are going to install react-native-gzip which is a native module for fast string compression on android & ios. We will be following it’s documentation for installation & Open Native will do the rest for us.
First we will install the module:
npm install react-native-gzip
yarn add react-native-gzip
And then we are going to use it in our Svelte Native app.
It’s that simple. If you go to react-native-gzip documentation, you will find the same steps mentioned there too!
| iOS | Android |
|---|---|
 |  |
See the full gzip example on github.
Okay, that was a really simple module with just two functions. Let’s try something more complex.
react-native-device-info
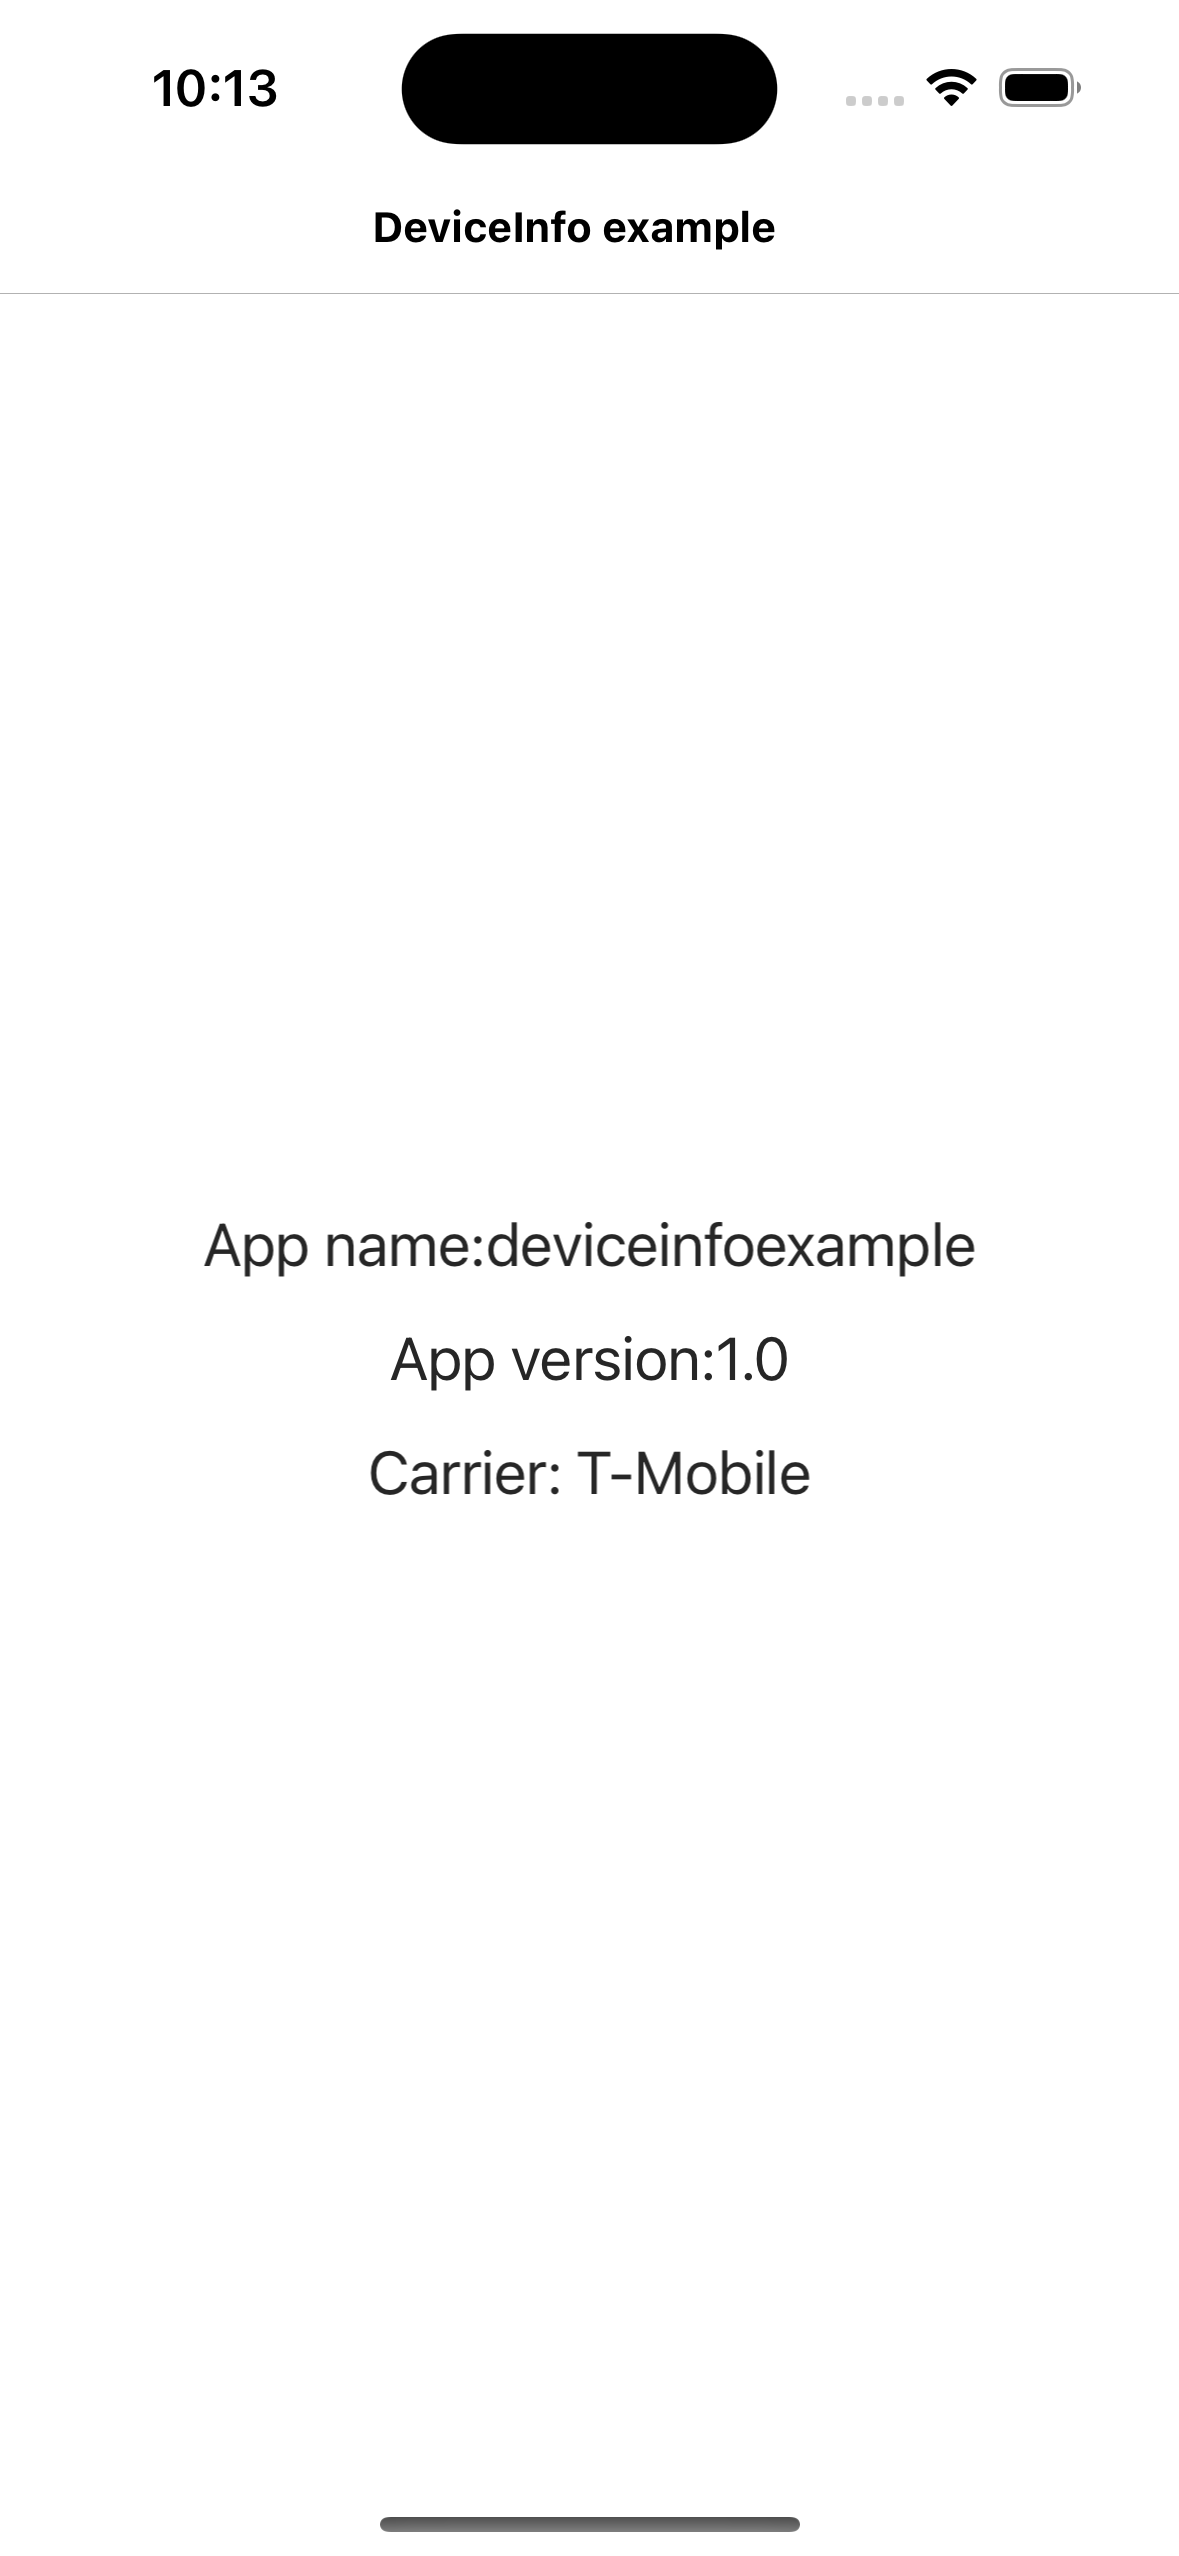
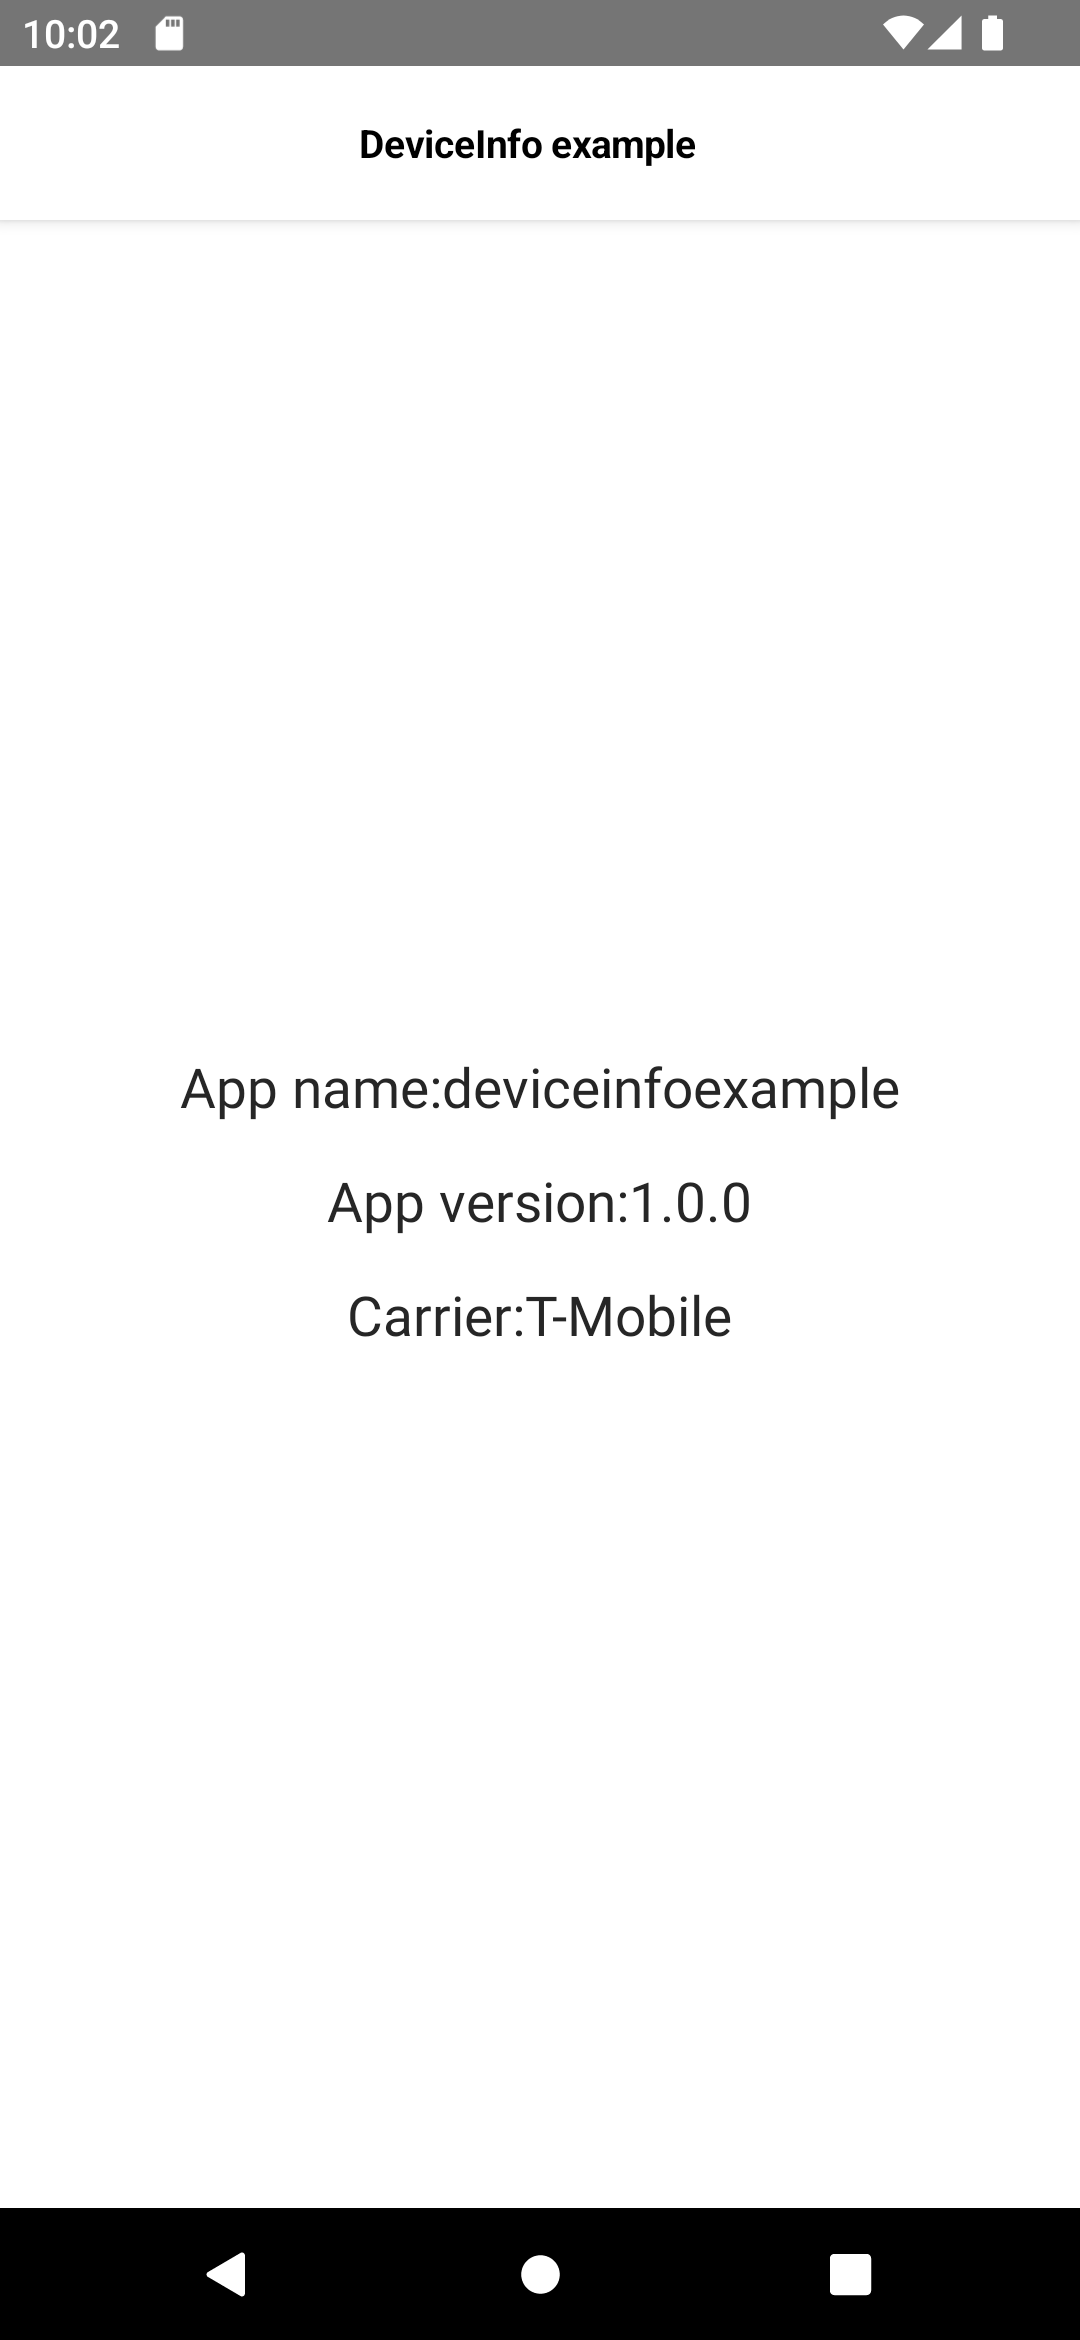
We will now install react-native-device-info module in our NativeScript app.
First we will install the module from npm:
npm install react-native-device-info
yarn add react-native-device-info
And then we can follow the documentation and use DeviceInfo methods in our NativeScript Vue app.
| iOS | Android |
|---|---|
 |  |
See the full react-native-device-info example on github.
What’s Next
Oh but the native world has never been so straight forward. You might run into some issues when installing different modules. Check out our quick troubleshooting guide to fix common problems.